Blog
How to Read Sheet Music for Piano: A Step-by-Step Guide
Reading sheet music for piano is one of the most essential skills for any pianist, whether you’re a beginner or an advanced player. While it may seem overwhelming at first, understanding how to read sheet music opens up a world of musical possibilities and allows you to play a wide variety of songs. In this step-by-step guide, we will walk you through the fundamentals of reading piano sheet music, making it easier to understand and interpret the notes and symbols.
1. Understanding the Basics of Sheet Music
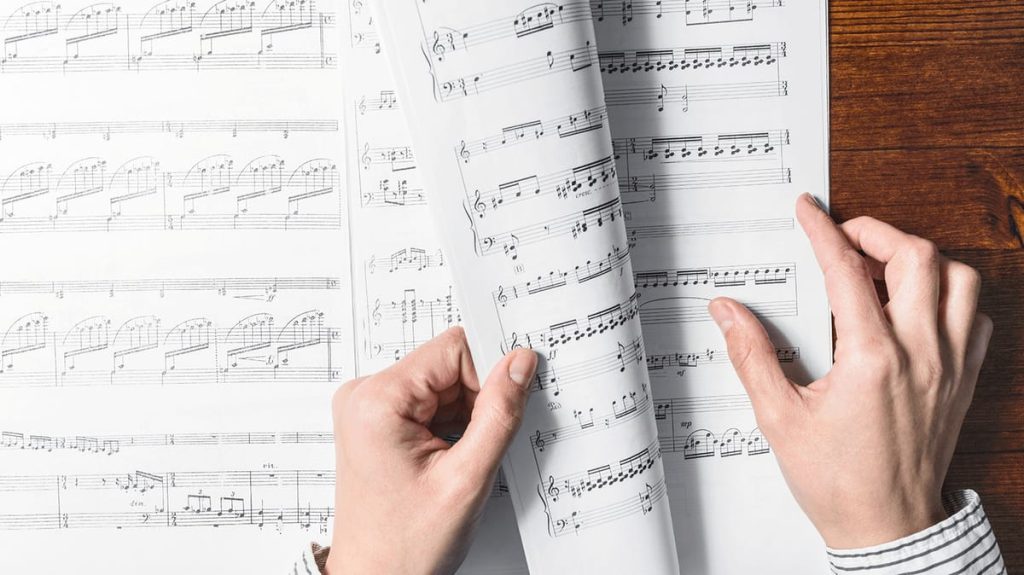
Sheet music is a visual representation of music that tells you what notes to play, when to play them, and how long to hold them. For piano players, sheet music consists of two staves, one for each hand, and several important symbols that dictate rhythm, dynamics, and articulation.

What You’ll See on Sheet Music:
- Staff: Sheet music is written on a staff, which consists of five horizontal lines and four spaces. Each line and space represents a different note.
- Treble Clef and Bass Clef: The piano has two main clefs:
- Treble Clef: This clef is used for higher notes and is usually played with the right hand.
- Bass Clef: This clef is used for lower notes and is typically played with the left hand.
Tip: The treble clef is sometimes called the “G clef” because it wraps around the G line, while the bass clef is known as the “F clef” because it locates the note F.
2. Learn the Notes on the Staff
The first step to reading sheet music is understanding the notes on the staff. In both the treble and bass clefs, the notes are assigned to the lines and spaces.
Treble Clef Notes (Right Hand):
- Lines: E, G, B, D, F (from bottom to top)
- Spaces: F, A, C, E (from bottom to top)
You can remember the lines with the acronym “Every Good Boy Deserves Fudge” and the spaces as “FACE”.
Bass Clef Notes (Left Hand):
- Lines: G, B, D, F, A (from bottom to top)
- Spaces: A, C, E, G (from bottom to top)
For the lines in the bass clef, try the phrase “Good Boys Do Fine Always” and for the spaces, think of “All Cows Eat Grass”.
Tip: Practice identifying these notes on the staff and locating them on your piano. The more you practice, the quicker you’ll be able to recognize them.
3. Understanding Note Durations
In addition to knowing the notes, you also need to understand how long each note should be held. This is indicated by the note duration, which is represented by the shape of the note and any additional symbols attached to it.
Types of Notes:
- Whole Note (𝅘𝅥𝅮): 4 beats
- Half Note (𝅘𝅥): 2 beats
- Quarter Note (𝅘): 1 beat
- Eighth Note (𝅘𝅥𝅮): 1/2 beat
- Sixteenth Note (𝅘𝅥𝅮): 1/4 beat
Rests: Just like notes, there are also rests to indicate silence for a specific duration. Rests are drawn with different symbols to match the duration of the note values.
Tip: Practice counting the beats while tapping your foot or clapping to the rhythm of each note. This will help develop your sense of timing and rhythm.
4. Time Signatures and Measures
The time signature tells you how the music is organized rhythmically. It appears at the beginning of the staff and is made up of two numbers. The top number indicates how many beats are in a measure (a group of beats), and the bottom number indicates which note value gets the beat.
Common Time Signatures:
- 4/4 Time: Four beats per measure, with the quarter note getting one beat. This is the most common time signature.
- 3/4 Time: Three beats per measure, with the quarter note getting one beat (often used in waltzes).
- 2/4 Time: Two beats per measure, with the quarter note getting one beat.
Tip: When reading sheet music, always pay attention to the time signature. It will help you understand how the music should be grouped and phrased.
5. The Role of Key Signatures
A key signature is found at the beginning of each line of music (right after the clef sign) and tells you which notes will be sharp or flat throughout the piece. This helps you identify the key of the music, which sets the tonality of the piece.

What to Look For:
- Sharps (#): Indicate that a note should be raised by a half step.
- Flats (b): Indicate that a note should be lowered by a half step.
- Natural (♮): Cancels out any previous sharp or flat.
Tip: Practice playing scales in different keys to get used to the key signatures. This will help you recognize the notes that are affected by sharps or flats.
6. The Importance of Hand Positioning and Finger Numbering
Piano sheet music also indicates how to play the notes with your hands. Proper hand positioning and finger numbering are essential for playing comfortably and efficiently.
Finger Numbering:
- Right Hand: Thumb = 1, Index = 2, Middle = 3, Ring = 4, Pinky = 5
- Left Hand: Pinky = 1, Ring = 2, Middle = 3, Index = 4, Thumb = 5
In sheet music, you may see finger numbers above or below the notes to guide you on which finger to use for each note.
Tip: Focus on maintaining relaxed fingers and wrists. Proper hand position will help you play more fluidly and avoid unnecessary tension.
7. Reading the Piano Staff for Both Hands
For piano music, you will be reading two staves at the same time—one for the right hand (treble clef) and one for the left hand (bass clef). It’s essential to become comfortable reading both staves simultaneously, as each hand plays its own set of notes.
Tip: Start by practicing reading the treble clef (right hand) and bass clef (left hand) separately. Once you feel confident, try playing both hands together, making sure to pay attention to the notes and rhythms for each hand.
8. Dynamic Markings and Articulation
In addition to the notes and rhythms, sheet music also includes dynamic markings and articulation symbols. These tell you how loud or soft to play the music and how to articulate the notes.
Dynamic Markings:
- p (piano): Play softly
- f (forte): Play loudly
- mf (mezzo-forte): Play moderately loud
- crescendo (≺): Gradually get louder
- decrescendo (≻): Gradually get softer
Articulation Symbols:
- Legato: Play the notes smoothly, connecting them with no break.
- Staccato: Play the notes short and detached.
Tip: As you practice, make sure to follow the dynamics and articulations to bring the music to life. It’s not just about playing the correct notes—it’s about playing with expression.
9. Putting It All Together: Practice and Patience
Now that you have the basics, it’s time to practice reading sheet music. Start with simple pieces that use basic note values, time signatures, and easy melodies. As you gain confidence, move on to more complex pieces with more challenging rhythms and key signatures.
Tip: Start slowly when learning a new piece, focusing on accuracy first. Gradually increase the speed as you get more comfortable. Be patient with yourself and practice regularly.
Conclusion: Becoming Fluent in Reading Sheet Music
Reading sheet music for piano may seem challenging at first, but with practice and a solid understanding of the fundamentals, you will be able to read music with ease and play a variety of pieces. Start with the basics—notes, rhythms, and key signatures—and gradually build up to more advanced concepts. As you continue to practice, reading sheet music will become second nature, allowing you to explore a vast range of music and develop your piano skills to new heights. Happy playing!


